
I came across a string of posts recently that was suggesting preference for a 60% front wheel to 40% rear wheel pannier weight distribution. This might work under some conditions, such as on straight even terrain with no turns. But when it comes to bike braking stability, it’s not the best distribution under braking and here’s why.
Under braking, ideally you want to achieve 50% of the load at the front and 50% over the rear wheel. This distribution is more stable and should result in uniform wear of brake components and tires. Equal load on each wheel both maximizes grip around turns and helps control under braking.
50/50 Front to Rear wheel load distribution under braking:
To achieve this 50/50 weight distribution under braking the front panniers should weigh less than the rear panniers. This is because when you brake, the dynamic load affect increases the reaction at the front wheel while reducing the reaction on the rear wheel. You have probably observed this process many times. Like on the road when a car stops and the front of the vehicle drops while the rear of the vehicle raises up.
There is a bit of guess work and some physics involved to understand what the ratio of front pannier to rear pannier weight should be. It will depend on the total weight of your panniers; the wheel spacing and the height of your panniers center of gravity above the road.
Physics behind the weight distribution
The schematic free body diagram below shows the pannier forces in play that will impact the weight distribution on your wheels while braking.
R1 and R2 represent the wheel reactions and while the sum of R1 + R2 will remain the same under braking. The value of each will change depending on: the weight of each bag; the dimensions X and Y and how quickly the bike stops (A).
Each bike will be slightly different in set up but values for X and Y can be easily measured. Some guesswork is involved for the value of A though. If your goal is to encourage even wear and tear on your breaks and tires, than an average value of A should be used. Lets assume this would be a value of 0.5g (or half the acceleration due to gravity).
Calculations and Equations:
Remember the goal is to find the weight distribution between front and rear panniers that will result in equal load on the front and rear wheels under braking. So we want to have R1= R2 under braking
On average a bikes wheel base (X) is around 1 M and the average height (Y) is 0.5 M. So with this information we can calculate a ratio of front to rear panniers as follows:
EQUATIONS: X=0.5Y ; R2=R1 ; H1=.5W1 ; H2=0.5W2;
Plugging these values into the equations 1 and 2 above, we can solve for R1 and R2 in relation to W1 and W2:
W2-(.5W1+.5W2)*0.5=W1+(.5W1+.5W2)*0.5
W2-0.25W1-0.25W2=W1+0.25W1+0.25W2
.5W2=1.5W1
W2=3W1
Findings and Conclusions:
So the total pannier weight is W1+3W1 = 4W1 and the ratio of total weight front / back would be 1/4 front and 3/4 rear. In terms of percentages this works out to 25% on the front panniers and 75% in rear panniers.
Of course as noted earlier in the post, every set up will be different and will depend on your goal in the long term. For example if you prefer to have more control / stability under braking, you may consider a weight distribution that results in the front wheel reaction being less than the rear wheel reaction under braking. In this case, you could lower the center of gravity of the panniers or get a bike with a wider wheel base. You could also consider to lighten the weight of the front panniers.
Regardless the goal (component wear or increase stability control under braking), both can be achieved by a weight distribution that places more load over the rear wheel than the front wheel.
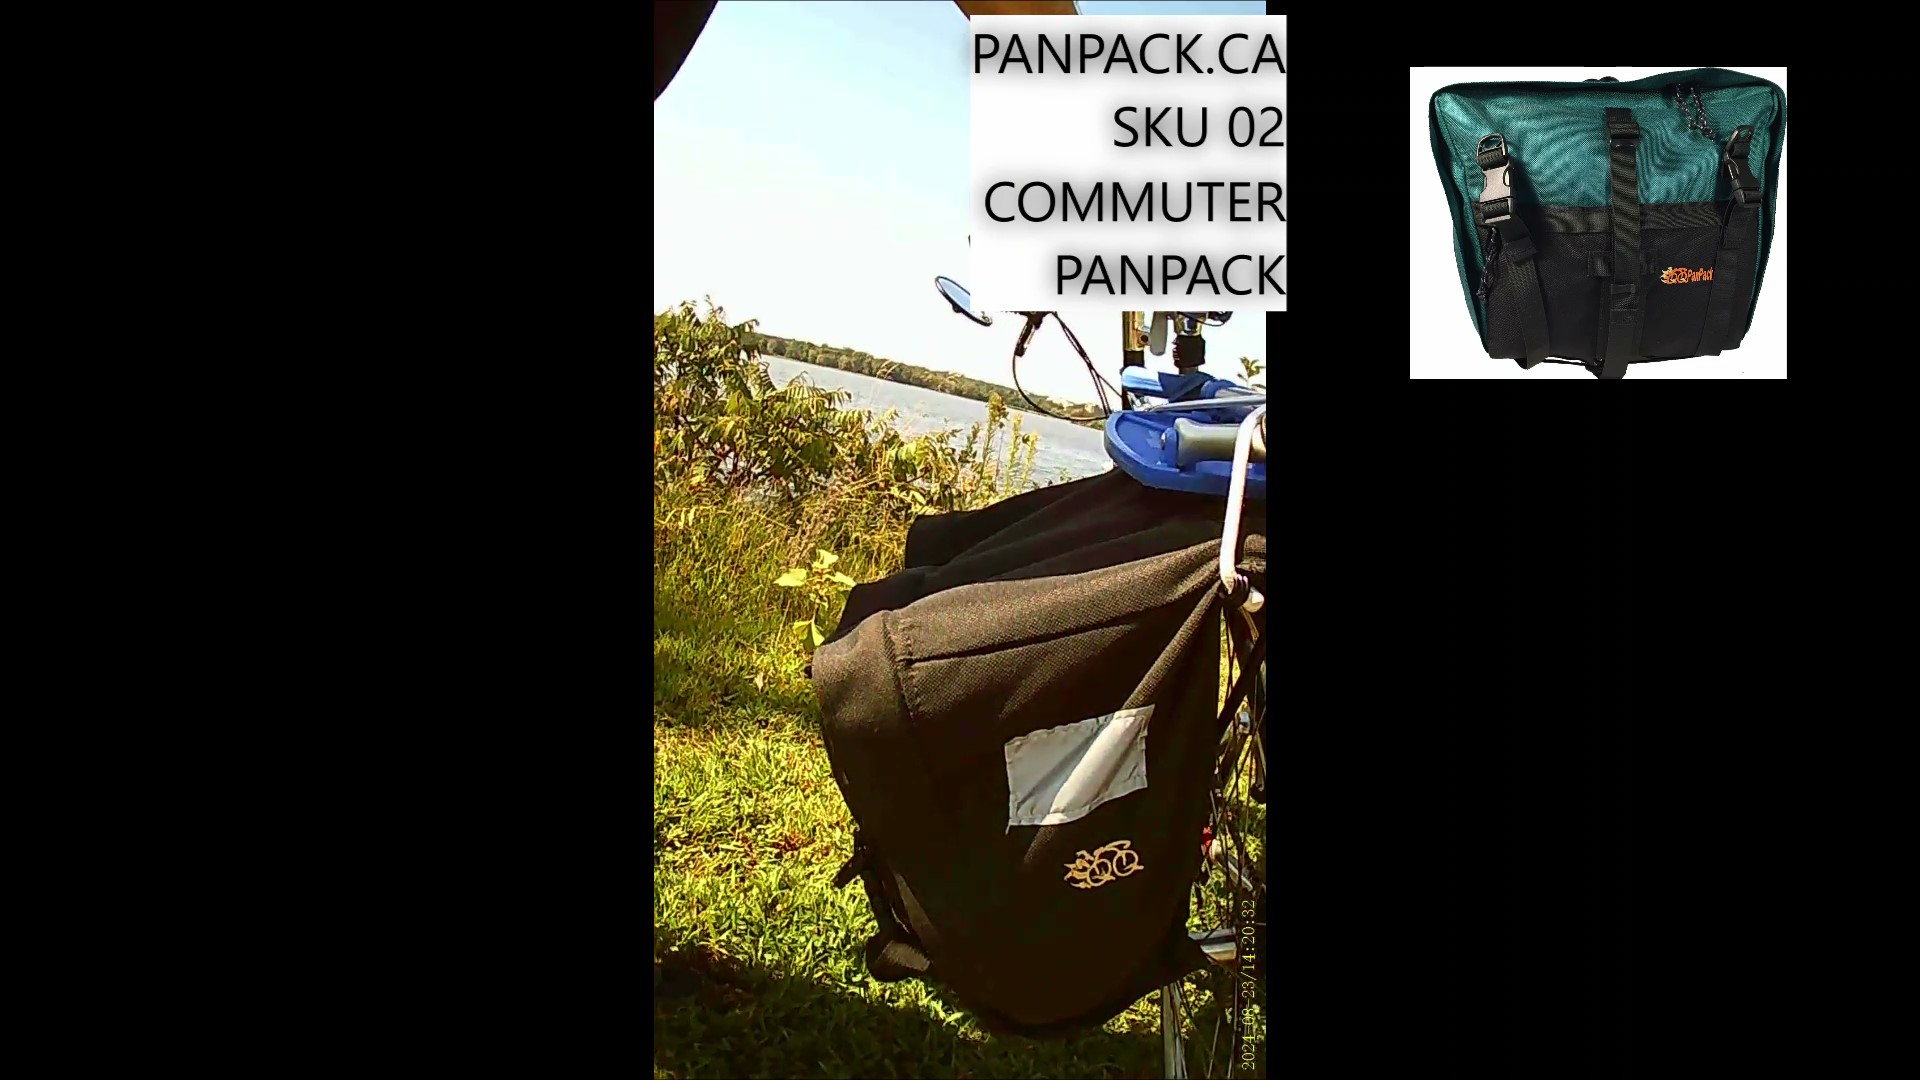
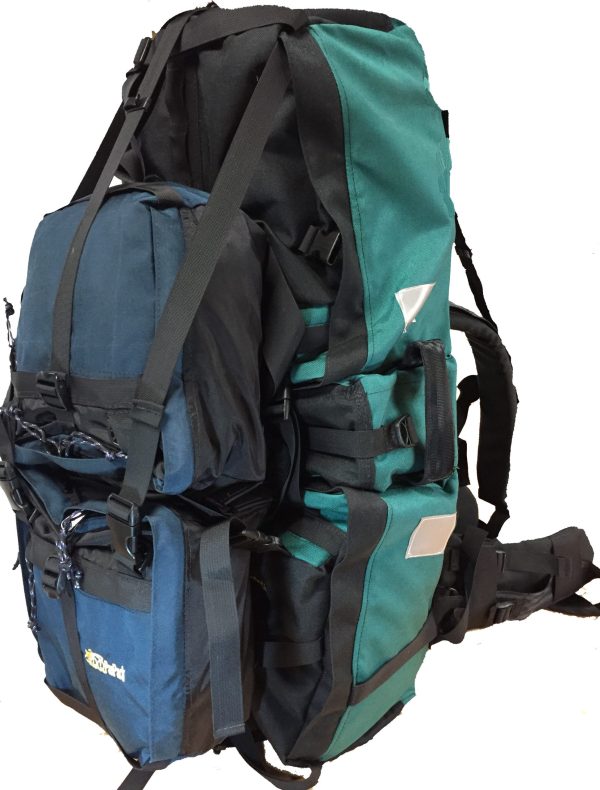
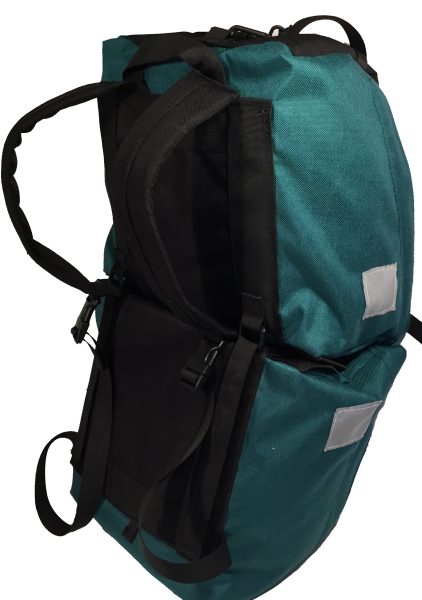
Happy cycling! check out front and rear panniers that convert into backpacks at www.panpack.ca


